Introduction
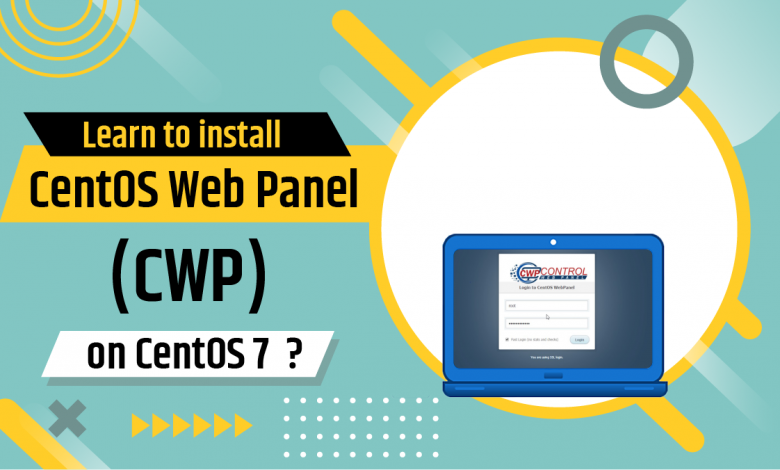
CentOS Web Panel (CWP) serves as a free web hosting control panel and is an alternative to cPanel. It consists of an easy-to-use interface. It enables smooth and simple management of multiple servers, including both virtual private and dedicated servers. Also, you are not required to access the server via SSH for every little task you have to execute. CWP functions as a feature-rich control panel. It offers an extensive range of options and features for active server management. In this guide, you will get insightful details on installing CentOS Web Panel (CWP) on CentOS 8.
Key Features of CWP Control Panel
Following are some of the significant features and services that you get with CentOS Web Panel –
- Apache Web Server ( Mod Security + Automatically updated rules optional)
- PHP 5.6 (suPHP, SuExec + PHP version switcher)
- MySQL/MariaDB + phpMyAdmin
- Setup server for Web Hosting with WordPress
- FreeDNS Server
- Live Monitoring
- File System Lock (means, no more website hacking due to locking of files from changes)
- Email – Postfix and Dovecot, mailboxes, RoundCube web interface (Antivirus, Spamassassin optional)
- CSF (Config Server Firewall)
- Backups that come as optional
- The easy user management interface
- Server configuration AutoFixer
- cPanel Account Migration
- TeamSpeak 3 Manager (voice) and Shoutcast Manager (video streaming)
The new versions of CWP also incorporate bug fixes that are related to the loading time enhancements.
Prerequisites to Install CentOS Web Panel
Mentioned below are the prerequisites you must know before installing Centos webpanel (CWP) in order to avoid any technical issues –
- You cannot exclude the centos web panel, once you install it. This is because there is no uninstaller available for removing CWP after installation.
- To remove the CentOS control panel, you need to reinstall the server from your system.
- You cannot have the name of your domain on the server the same as the hostname.
- You must install the CentOS web panel on a system that has an operating system CentOS 7 freshly installed without any configuration modifications.
- CentOS web panel does not provide support for dynamic, sticky, or internal IP addresses. It only supports static IP addresses.
- You must have a minimum RAM of 512 MB for 32-bit and 1 GB for 64-bit along with the free space of 10 GB.
Installing CentOS 7 Web Panel
This section involves the steps you must follow to install (CWP) CentOS web panel on a local CentOS 7 server. For the same purpose, here you will notice that 192.168.0.111 is used as a static IP address, and cwp.matt.com is employed as the hostname. Let’s get begun!
Step 1: Setting up Hostname
In order to initiate the CentOS web panel installation, you need to first log in to your server as root. Further, you have to ensure that you set the accurate hostname.
You must note that the domain name and the hostname have to be distinct from each other on your server. For instance, suppose your domain name on your server is domain.com, then employ hostname.domain.com as your completely adequate hostname.
You have to enter the statement as –
# hostnamectl set-hostname cwp.matt.com
# hostnamectl
Step 2: Setting up Server IP Addresses
For setting up a network, you need to employ the nmtui (NetworkManager Text User Interface) utility. This lets you have a graphical user interface for configuring networking while controlling Network Manager.
You have to enter the following statement to do so –
# yum install NetworkManager-tui
# nmtui
Step 3: Installing CentOS 7 Web Panel
Once you get done with setting up the hostname and static IP address, you have to install the wget utility along with updating your server to the latest version. This helps in fetching and installing the CentOS web panel installation script. You need to enter the statement as –
# yum -y update
# yum -y install wget
# cd /usr/local/src
# wget http://centos-webpanel.com/cwp-el7-latest
# sh cwp-el7-latest
You have to keep calm as the installation process can last from 10 minutes to 20 minutes. After the installation is done, your screen should flash “CWP” installed and other files of credentials needed to access the panel. Moreover, you must copy all the details or write them down and keep them secure with you. You can then press “ENTER” for server reboot the moment you get ready. In case your system does not reboot automatically, you can enter the command as –
# reboot
Step 4: CentOS Web Panel Configuration
After the reboot of your server, you can log in to your server as root. Once you log in like this, you can encounter a different welcome screen. The screen will display the details about the logged users and the current disk space usage.
At last, you can log in to your CentOS Web Panel server by employing the link that your installer provides on your server. For instance –
CentOS WebPanel Admin GUI: http://SERVER-IP:2030/
Username: root
Password: your root password
Final Words
In this article, you have learned to install the CentOS web panel on CentOS 7. If you face any problem or difficulty during the installation process, you can connect to our Serverwala experts via different modes. They are always available to render the prompt response and smart solutions to your every query.

