
Introduction
The package.json file is a critical component of every Node.js project, serving as the backbone for its configuration and operation. It provides a structured way to define your project’s dependencies, scripts, and metadata, ensuring the application runs smoothly and predictably.
For new projects, package.json sets the stage by automating activities like dependency installation and script execution. For ongoing projects, it guarantees consistency across varied platforms and team members. Developers rely on this file to understand the project’s requirements and manage updates effectively. By learning how package.json works, you not only streamline project setup but also minimize potential errors and enhance collaboration. Its importance grows as projects scale, making it indispensable for any Node.js developer.
What is package.json?

The package.json file is a foundational element in any Node.js project. It is a simple JSON-formatted file that serves as the central configuration point and metadata repository for your application. This file renders comprehensive information about the project, like its name, version, & details. It also defines critical aspects like dependencies, scripts, and configurations required for the project to function.
The primary role of package.json is to communicate with package managers such as npm & Yarn. It helps these tools install and manage the libraries & frameworks your project relies on. Additionally, it automates tasks such as running scripts and ensures consistent versioning for both the application and its dependencies.
At its core, package.json acts as a roadmap for your project. It ensures everyone working on the codebase can quickly understand the tools, libraries, and configurations in use. Moreover, it helps prevent version mismatches by locking specific versions or ranges for dependencies. For example, you can specify a dependency like “express”: “^4.18.0”, which ensures compatibility across your team’s development environments.
Beyond dependencies, the package.json file also allows you to explain custom scripts. These scripts can handle common tasks such as beginning a server, operating tests, or constructing your project. For instance, a “start”: “node index.js” script lets you launch your application with a simple npm start command.
package.json Example
Here’s a plain instance of a package.json file, which outlines the basic structure for a Node.js project:
json

Copy code

{

  "name": "my-node-project",

  "version": "1.0.0",

  "description": "A simple Node.js project",

  "main": "index.js",

  "scripts": {

    "start": "node index.js",

    "test": "echo \"No test specified\" && exit 1"

  },

  "keywords": ["node", "project", "example"],

  "author": "Your Name",

  "license": "ISC",

  "dependencies": {

    "express": "^4.18.2"

  },

  "devDependencies": {

    "nodemon": "^2.0.20"

  }

}
This example illustrates how the core fields of the package.json file are typically configured. You can see that it includes the project name, version, dependencies, scripts, and other key information that helps define the project. The dependencies include express for the application and nodemon for development. The scripts section is essential for defining tasks like starting the app or running tests.
package.json Metadata
The metadata within a package.json file serves as the heart of your project’s configuration and core information. It helps define and organize essential details about your Node.js project, making it simpler to manage dependencies, scripts, and other crucial settings. Following is an exhaustive look at the most prevalent used fields in package.json and their purpose:
- name: This field specifies the distinct identifier of your project. It’s essential that the name is distinct, especially if you plan to share or publish the project to platforms like npm. A good name should be descriptive, making it clear what the project is about. This will enable others find it when searching through repositories or npm.
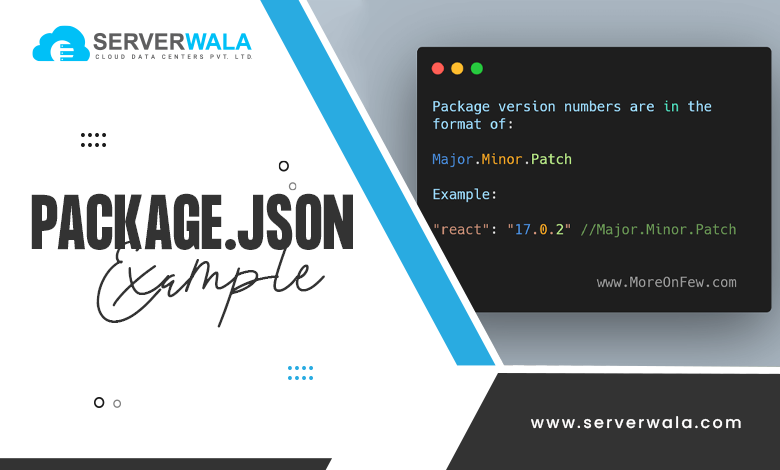
- version: Here, you define the current version of the project, following the principles of semantic versioning (e.g., 1.0.0). Versioning permits developers to track modifications over time and sustain backward compatibility. When your project is updated or new features are added, adjusting the version number ensures that others are aware of the updates and improvements.
- description: This field renders a short overview of what the project does. While it’s not mandatory, it’s highly recommended to include a short, clear description that outlines the project’s primary function. This makes it easier for you and others to comprehend the project’s objective at a single view.
- main: The main field defines the entry point of your application, typically the file that starts the application (such as index.js). This field tells Node.js where to begin execution when the project is required by another module or when running it directly.
- scripts: The scripts section holds custom commands that can be executed through npm run <script-name>. This is useful for automating repetitive tasks like beginning the application, running tests, or constructing the project. Common scripts might include start, test, or build. For instance, a start script is commonly used to run the application, while a test script can execute your test cases.
- keywords: These are tags or terms associated with your project that improve its discoverability in npm or GitHub searches. Keywords help others find your project when they are looking for relevant modules or libraries related to your work.
- author: This field contains information about the creator or maintainer of the project. It basically incorporates the name as well as contact information, allowing others to reach out for support, feedback, or contributions.
- license: The license field outlines the legal terms under which the project can be used, shared, or modified. It’s important to specify the type of license to make it clear whether your project is open-source, and if so, under what conditions it can be used. For example, an ISC license is permissive and permits others to freely employ, alter, and distribute the project.
- dependencies: These are the core libraries or modules that your project requires in order to operate. Dependencies are automatically installed by npm when you set up the project. They are crucial for the project’s operation, and npm ensures that they are available when your project is deployed.
- devDependencies: Unlike regular dependencies, devDependencies contain the tools as well as libraries needed in the time of the development face and not in production. For instance, nodemon is commonly listed here as it helps automatically reload the application during development, improving workflow efficiency.
Each of these fields is integral to ensuring the structure of your project is well-organized and easy to manage. Properly utilizing package.json helps you automate common tasks, manage dependencies, and set up the configuration in a way that is understandable and maintainable. With a well-configured package.json, collaboration becomes smoother and project management more streamlined.
How To Manage Your package.json?

Efficient management of the package.json file is crucial for maintaining a smooth and productive development workflow. By following a few key steps, you can ensure that your project stays organized, up-to-date, and error-free. Go through an exhaustive guide on how to manage your package.json file:
- Create the File: The first step in managing your package.json is creating the file. You can quickly generate it by operating npm init in your project directory. This command will walk you through a setup process and prompt you to provide essential information about your project, like the name, version, and description. For a faster approach, you can use npm init -y, which auto-generates the file with default values.
- Add Dependencies: To add dependencies to your project, simply run npm install <package-name>. This command will download the specified package and automatically update your package.json by adding the package to the dependencies section. Dependencies are core libraries or tools that your project requires to operate aptly. Always use npm install instead of manually adding dependencies to avoid potential errors.
- Update Dependencies: Over time, your project dependencies may need to be updated to include bug fixes, security patches, or new features. To keep everything up to date, you can use the npm outdated command, which will display you which dependencies have newer versions accessibility. Once identified, you can update them with npm update, which will automatically update the versions in your package.json.
- Customize Scripts: package.json provides a convenient place to store custom scripts that can help automate various tasks. You can add commands for tasks such as testing, building, linting, or starting the server under the scripts section. For example, you can create a custom script like “test”: “jest” to run tests with the Jest testing framework. Customizing scripts saves time and reduces the need for repetitive command-line input.
- Keep It Clean: Regular maintenance of your package.json file is important. Remove any unused dependencies that are no longer necessary for your project. You can use npm prune to eliminate packages that are not required. Keeping your file clean and well-formatted helps prevent bloating and improves the readability and performance of your project.
Also Read: How to Install the latest Node.js on Linux?
Conclusion
The package.json file is much more than a simple configuration file; it is a central hub for managing every aspect of a Node.js project. From handling dependencies to automating scripts and defining metadata, it plays a pivotal role in the development lifecycle. Properly employing this file streamlines repetitive tasks as well as nurtures a more effective and organized workflow. Mastering the package.json file allows you to optimize development time and reduce confusion in team collaborations. It also helps you maintain version control, ensuring stability across multiple environments. So, dive deeper into its features today.